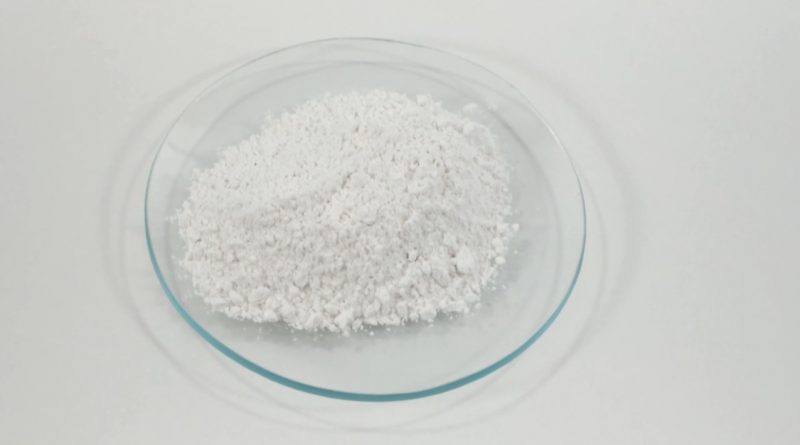
02.05: Calcium Sulfate
I know, I know. It’s been a while since I’ve posted a video. Fear not, I’ve been working hard on other projects and haven’t forgotten about HausLab! One of those projects was the follow-up to cleaning out the chemical storage, and I’ve cleaned out the rest of the lab now, too. I found stuff I didn’t even know I had! A few of the older items actually feature in this video:
First things first, the proper way to make plaster of Paris is to mix two parts of the dry plaster with one part water, by volume. Since I wanted to use up these little cups, I based my measurements on their volume. The powder has been in storage for more than 18 years, so it was pretty well compacted. As I fluffed it up to scoop it, a lot of air got trapped in between the particles. This explains the loss of volume when I added the water. It isn’t an exact science, which is right up my alley.
Anyway, plaster finds a lot of use in close contact with people. To mend a broken bone, a plaster cast is made directly on the injured limb. It is also used in life-casting to provide a support for a more flexible alginate or silicone mold. In both cases, there are intermediate materials that protect the skin from direct contact with the hardening plaster. It is an exothermic reaction, after all.
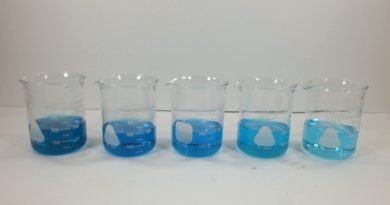
While my samples were curing, I measured the temperature. The standard mix topped out at 37 ºC in about half an hour, then started falling. That’s not hot enough to cause severe burns, but that’s certainly warm enough to cause discomfort over prolonged contact. To speed up the process, salt is often added to make the plaster harden up faster. Fine, but in all three of my trials with different salts, the maximum temperature was well over 40 ºC, with the potassium sulfate getting up to nearly 50 ºC which is well on the way to scalding.
The reference I used for the salt procedure (see below) suggested that salt should be added when doing a plaster cast of the face to speed up the process. That’s frighteningly misleading: Don’t EVER apply plaster directly to your (or anyone else’s) face! What the author was referring to, at least I HOPE what the author was referring to, was placing plaster bandages over an alginate or silicone mold of the face for support. In that case, the extra heat won’t make much difference, because the molding substrate will insulate sufficiently.
It seemed like the aluminum potassium sulfate was no help. The curing temperature was higher than the standard mix, but it took just about as long to set up. It wasn’t able to resist my fingers squeezing the cup until almost 20 minutes. It was only then that the temperature started to climb, much like the standard mix. The potassium sulfate was by far the quickest setup, but it got really hot, really fast (within about 15 minutes it was over 40 ºC, but within about 5-7 it was hard enough to resist crushing).
The foam trials… well, I thought going into this that it was pretty dumb. Maybe an interesting demonstration of density, but practically useless. When I actually tried it, I seriously considered not filming it at all! I did try one before I filmed, simply because I wanted the extra space usually occupied by a camera. When I “stirred in” the foam, and absolutely nothing happened, I figured it was a waste of time. I ended up dumping half the foam onto the table because I was trying to get at the plaster underneath, not realizing that the plaster was trapped in the foam.
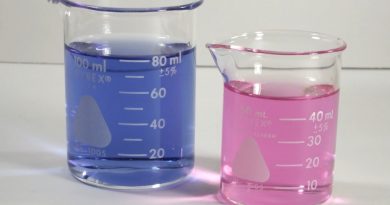
I tried Sunlight (formerly Ivory), Dawn, and Head & Shoulders. The reference (also below) said he got best results with the latter two. The Sunlight/Ivory was my first attempt (because I love the smell, and I’m terribly sad they stopped making it). The Dawn made a nice blue foam, so it was a perfect demonstration of how much water is trapped in the foam. The smell of the Head & Shoulders (which is ancient, but still the newest item I used in this procedure!) just reminded me of my ex-wife. It was also very hard on the paper cups and they needed to be doubled up. I almost lost one as the top unrolled when I tried to move it!
Of course, since the plaster becomes part of the bubbles, the overall density of the sample cups is much lower. But practically, this is useless. There is a gradient throughout the cup, and the stuff on the top is so brittle that just touching it causes it to crumble. To change the density and keep stability, it would have to have a controlled amount of gas pumped through the setting plaster to regulate the size and distribution of the bubbles. But plaster is meant to be hard, so I’m not sure if there are any practical applications for low-density plaster!
Finally, I wanted to see what would happen if I just doubled or tripled the water. And basically, it did change the density, because all the plaster settled to the bottom and the extra water pooled on top. For that given volume, once the water evaporates, there will be less mass. But the mass has the same density as regular plaster, intrinsically.
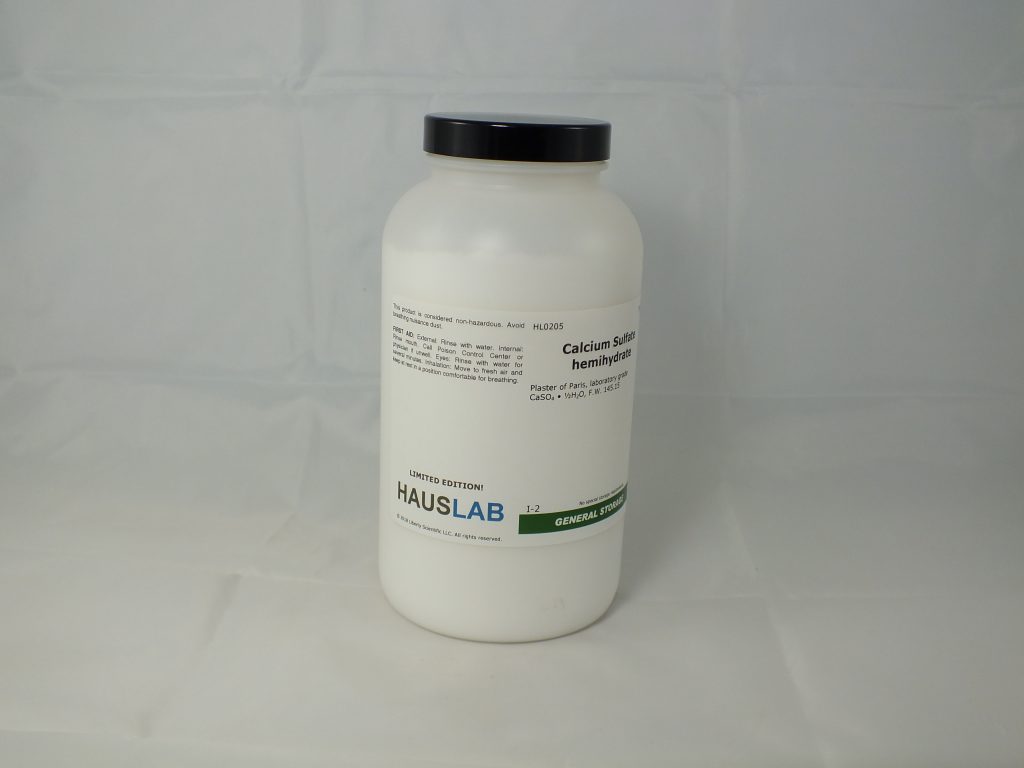
So, before they’re all gone, go over to the Liberty Scientific store and get your very own, limited edition, HausLab Calcium Sulfate. I didn’t want to keep my giant bucket for another 18 years, so why not subdivide it and get a little support for the channel?!
References
How to Use Salt in Setting Plaster of Paris
Using Soap Foam to Alter the Density of Plaster of Paris